
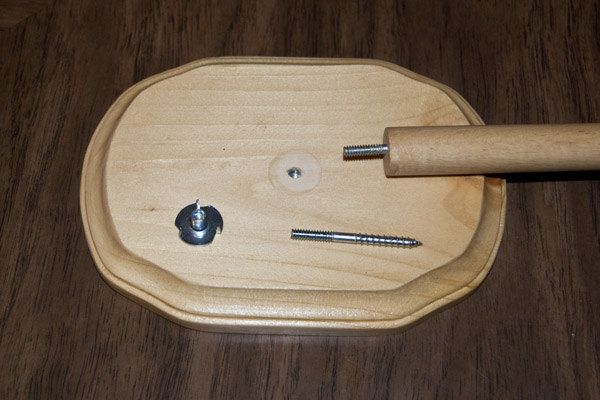
In order to save storage space, I wanted a puppet stand that could be broken down into two parts- the stand and the base. Using a T-nut and hanger bolt, you can attach a dowel to the base. An unfinished wooden plaque from a craft store makes a great base. A 3/4″ wooden dowel is easy to find at local hardware stores or online. The puppet stand was not only collapsible, but it was also sturdy.
Construction of Collapsible Puppet Stand
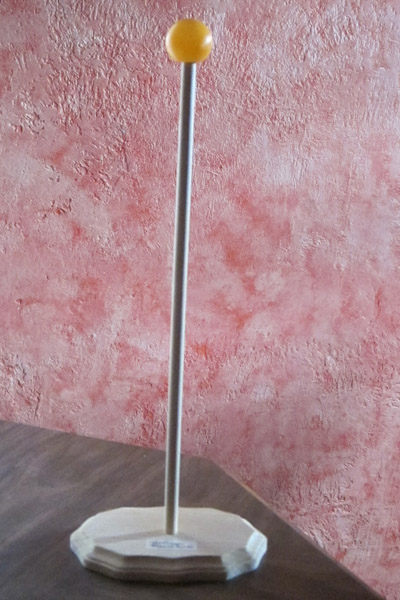
Supplies and Tools Used
Supplies needed:
- Wooden plaque (approx. 5×7″)
- 3/4″ dowel
- 3/16″ T-nut and hanger bolt
- 3/16″ Ping pong ball (optional)
Tools needed:
- Drill with 5/32″ bit
- Drill with 3/4″ wood bore
- Hammer
- Vise grips
- Circular saw to cut dowel to the desired height
Boring the Hole and Inserting T-nut
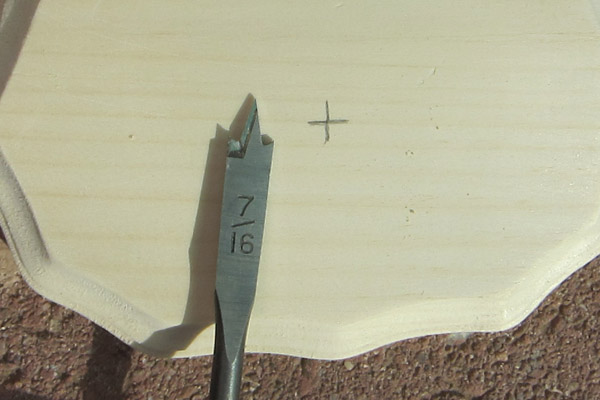
On the top side of the plaque, mark the center point and drill a hole using a 5/32″ bit. Drill all the way through the plaque.
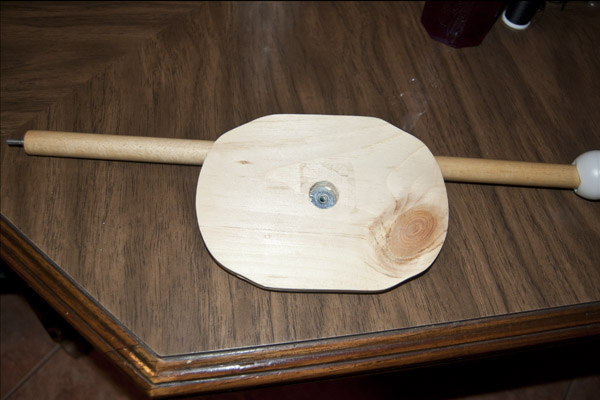
Turn the plaque over and use a 3/4″ wood bore to bore a hole. Line up the point of the bore with the center of the hole you just drilled. Don’t bore a hole all the way through, just bore 3/4 of the way. This is where you will tap the T-nut into position.
Since the hole is small, use a hammer with a nail driver to tap it into place. In the picture above, you can see how much the T-nut is recessed.
Cutting the Dowel and Inserting Hanger Bolt
Use a circular saw to cut a 3/4″ dowel the length you want for your stand.
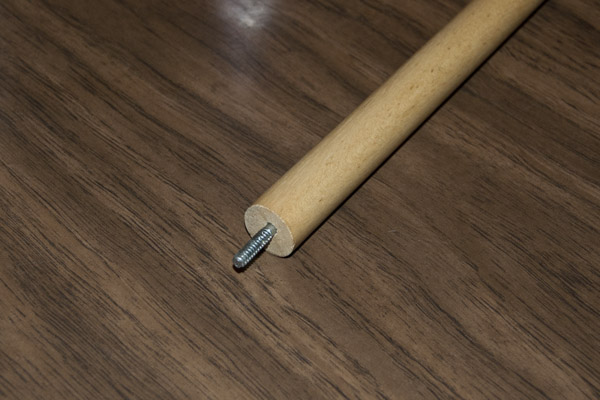
On one end, drill a pilot hole 1 1/4″ up into the dowel. This is where you will screw in the hanger bolt with the wood screw threads.
As a side note: I don’t have any special wood working equipment in order to hold either the dowel or the drill in position while drilling this hole. Larry (my helpful husband) held the dowel as perpendicular as possible as I drilled out the pilot hole. Even though the hole isn’t perfectly straight, it still was fairly straight.
It was a tight fit screwing the the hanger bolt in. We used vise grips in order to get a good grip. So that we didn’t destroy any of the threads we gripped on the section of the hanger without threads. We left about 1/8″ of the section without threads exposed between the end of the dowel and the metal threads.
Optional: Add a Ping Pong Ball for Cuteness and Safety
For the finishing touch, I cut an X in a ping pong ball and inserted it on the top of the dowel. To keep the ball from coming off, I used a dollop of hot glue on the tip of the dowel and then pushed the ball into the glue and held until the glue cools. I used the low setting on my glue gun and I haven’t had any trouble with the glue melting the ball. The ping pong ball seems to help keep the puppet stabilized on the stand. It also prevents the raw wood of the dowel from damaging the inside the puppet. Most importantly, it helps to avoid a safety hazard in case there’s a bunch of kids running around.