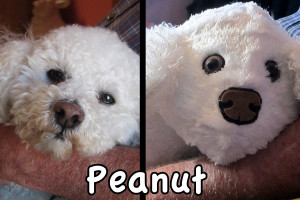
We love the look of big, cartoonish eyes for the animal puppet patterns that we create. But not everyone wants that look. Sometimes a finished puppet calls for a more realistic looking eye. In that case, safety eyes would be the best option.
Working with Safety Eyes
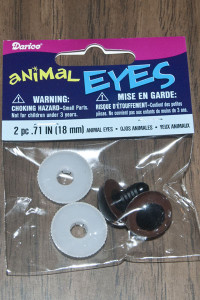
The reason safety eyes are called safety eyes is that when they are inserted correctly they can’t be pulled out by toddlers. That means a hole has to be poked through the fabric in order to insert the post. The plastic white “washer” then goes over the post and fabric to keep the eye from coming out. If you’re using safety eyes the correct way, then you need to be very sure about where the eyes will go. Once the eye is placed, then it is permanent.
Modifying the Safety Eye
You can also clip the post off the safety eye and glue it to a piece of felt or fleece. This can then be hand sewn to the puppet. You’ll still get the look of the safety eye, but now the placement isn’t permanent. We do not recommend doing this if the puppet will be used by children under 3, since you’ve removed the “safety” aspect of the eye and create a possible choking hazard.

Use a pair of wire cutters cut the post off quickly and cleanly.
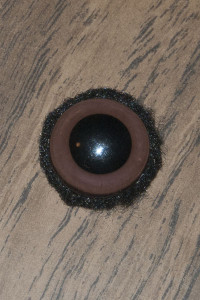
Cut a circle of felt or fleece just a little larger than the eye. Hot glue the felt to the back of the eye. You want just enough fabric extending past the eye that can be sewn. Then hand sew the eyes to the puppet. If you don’t get the placement just right, then you can cut the stitches and try again.